This guide is a UK-focused landlord inspection checklist for routine, periodic visits during an active tenancy – not a substitute for the formal check-in or check-out inventory (see the separate Inventory for Rental Property Guide).
It applies to typical assured shorthold tenancies (ASTs) and periodic tenancies in England and Wales; for broader legal background, see the AST agreement article, the Landlord Tenancy Agreement Guide, and the UK Tenancy Agreement Template Hub.
Regular inspections help landlords catch problems early – small leaks before they cause damage, damp before it becomes serious, and faulty smoke and carbon monoxide alarms before they fail – while also confirming tenant safety and protecting the property’s condition between tenancies.
The rest of this article covers how often to inspect, how to give proper notice, what to check room by room and in the outside space, and how to document your findings.
Table of Contents
- How Often to Inspect and When in the Tenancy
- Giving Proper Notice and Agreeing Access
- Setting Up Your Landlord Inspection Checklist
- Quick Safety and Compliance Checks (Before You Look at Décor)
- Room-by-Room Internal Inspection Checklist
- Plumbing, Heating, Hot Water and Ventilation
- Electrics, Appliances and Carbon Monoxide Risk
- Damp, Condensation, Mould and General Condition
- Garden Maintenance, Exterior and Outside Space
- Wear and Tear vs Damage, and How to Record Issues
- Example Property Inspection Checklist Table
- Following Up After the Inspection
- Key Takeaways
- FAQ
How Often to Inspect and When in the Tenancy
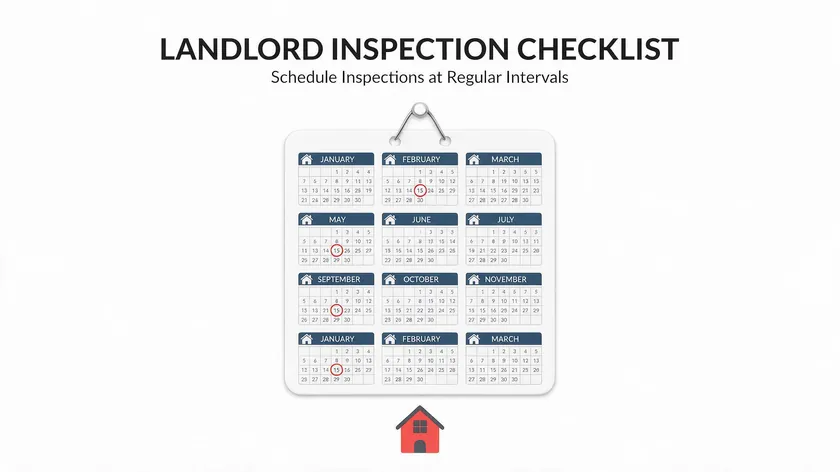
UK landlords commonly carry out inspections every three to six months, plus quick checks just before new tenants move in and shortly after they leave. Conducting inspections every six months is recommended for compliance, and regular inspections help maintain property value over time.
Regular maintenance checks should also align with your budget for repair and replacement – catching issues early avoids larger bills later.
Typical UK inspection timeline
A first visit around three months after a tenancy begins helps catch settling-in problems. After that, every six months works well for low-risk properties and stable tenants. For older stock or HMOs, consider three-monthly periodic inspections – see the Room tenancy agreement guide for shared-house specifics.
Avoiding over-frequent inspections
Over-frequent inspections – more than quarterly without a clear, safety-related reason – can be considered harassment under quiet enjoyment principles.
Extra inspections after major events
Schedule extra inspections after major events: reported leaks, storms that may have damaged roofs, or significant neighbour complaints.
Check-in and check-out stay separate
Formal check-in and check-out are separate processes handled through an inventory – the Inventory for rental property article covers that in full.
Landlords should also conduct seasonal inspections for maintenance considerations – autumn is ideal for checking gutters and heating, and spring for ventilation and exterior paintwork. A UK housing evidence study found that 26% of landlords inspect every six months, 17% quarterly, and 19% annually, so there is no single “correct” frequency. Pick a schedule, stick to it, and log every visit.
Giving Proper Notice and Agreeing Access
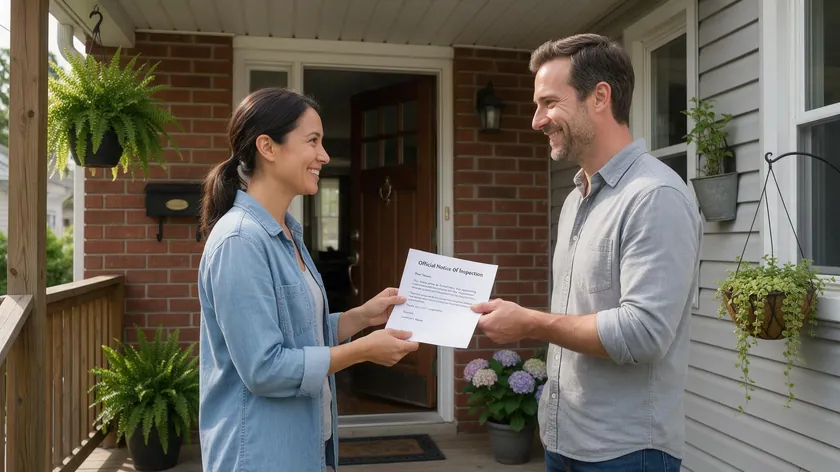
Under the Landlord and Tenant Act 1985, landlords must provide 24 hours’ notice before inspections, and the visit must be at a reasonable time of day – except in genuine emergencies. Clear communication at this stage sets the tone for a professional, respectful relationship.
Drafting the inspection notice
Draft your inspection notice by email, text or letter. Include the date, proposed time window, names of anyone attending (you, a letting agent, or a contractor), and the purpose – for example, “routine periodic inspection”.
Respecting the tenant’s quiet enjoyment
Tenants have a right to quiet enjoyment. Inspections should be infrequent, respectful and never unannounced. Giving more notice than the legal minimum – say, a week – is often better for maintaining a good relationship.
If a tenant refuses access
If a tenant refuses access, stay calm, try to rearrange, and keep written records of every attempt. Seek advice before considering legal action, since access clauses are usually set out in the tenancy agreement itself.
Emergency entry without notice
In emergencies – a burst pipe, suspected gas leak, or serious water ingress – a landlord may enter without notice. This is a last resort and should be well documented with photos and a written record of what triggered the entry.
Good communication usually prevents conflict over inspections. Most tenants are happy to cooperate when they understand the visit protects them as much as the property.
Setting Up Your Landlord Inspection Checklist
A landlord inspection checklist is a repeatable list of items to check at every visit so nothing is missed. A detailed property inspection checklist helps landlords track maintenance needs, and a room-by-room checklist can ensure consistency in property inspections across your portfolio.
Building a master checklist template
Create a master property inspection checklist with space for date, time, who attended, and signatures if you share it with the tenant.
What sections to include
Include separate sections for safety compliance, internal rooms, bathroom and kitchen plumbing, heating and hot water, electrics and lighting, cleanliness and hygiene, garden maintenance and outside space, and tenant behaviour issues such as smoking, pets or overcrowding.
Digital versus paper checklists
Digital formats – spreadsheets or apps – let you attach photos and notes with timestamps. Paper checklists work fine if you scan and store them safely.
Cross-referencing your tenancy agreement
Cross-reference the checklist with the clauses in your tenancy agreement, or with a standard tenancy agreement template, so you know what counts as a breach versus normal wear and tear.
A checklist also helps document property condition before and after tenancies, and inspections should document essential property details and any tenant-reported problems. The following sections walk through each part of the inspection checklist in detail.
Quick Safety and Compliance Checks (Before You Look at Décor)
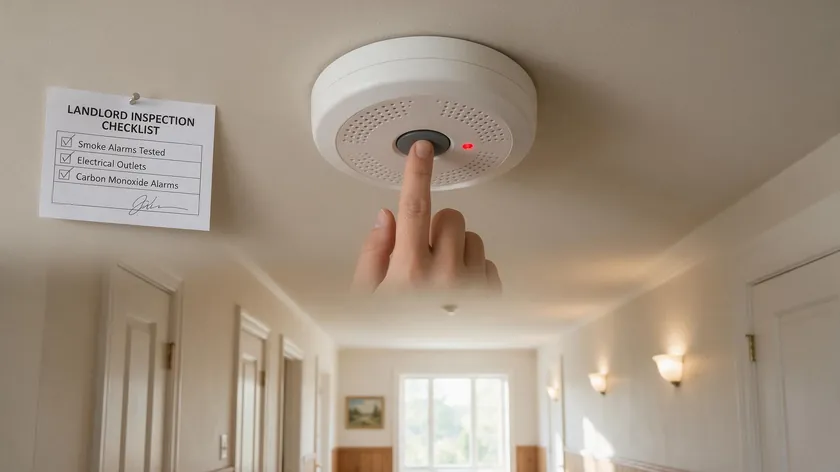
Your first pass through the property should focus on life safety – gas, electricity, fire and carbon monoxide – before you worry about cosmetics. Landlords must test smoke and carbon monoxide alarms at each inspection, and any safety concerns should be treated as urgent.
Checking key safety certificates
Confirm key certificates are up to date: annual Gas Safety Certificate (CP12), five-yearly Electrical Installation Condition Report (EICR), and a valid EPC. Landlords must provide tenants with a copy of the EICR within 28 days. These wider legal duties are set out in your tenancy agreement, and electrical safety compliance is legally required every five years.
Testing smoke and carbon monoxide alarms
Test all smoke alarms using the test button. Landlords must install smoke alarms on every floor. Test all carbon monoxide detectors too. Carbon monoxide alarms are required in rooms with solid fuel appliances under the Smoke and Carbon Monoxide Alarm (Amendment) Regulations 2022. Replace faulty alarms immediately. Record locations, test results, and any replacements made.
Extractor fans and escape routes
Check that extractor fans in kitchens and bathrooms function. Confirm that emergency exits – front door, back door, and key exit windows – open freely without obstruction. Fire escape routes must be clear of obstacles in rentals.
Spotting obvious electrical hazards
Look for obvious electrical hazards: loose sockets, exposed wiring, overloaded adaptors, or extension leads trailing across rooms.
Landlords must comply with electrical safety regulations and perform required inspections, and they are responsible for ensuring supplied electrical equipment is safe. Only a qualified electrician should carry out remedial electrical work.
Smoke alarms must be tested at every property inspection, and smoke and carbon monoxide detectors must be present in required locations. Any safety red flag – a non-working alarm, a burning smell, a blocked escape route – should trigger immediate professional follow-up rather than waiting until the next inspection.
Room-by-Room Internal Inspection Checklist
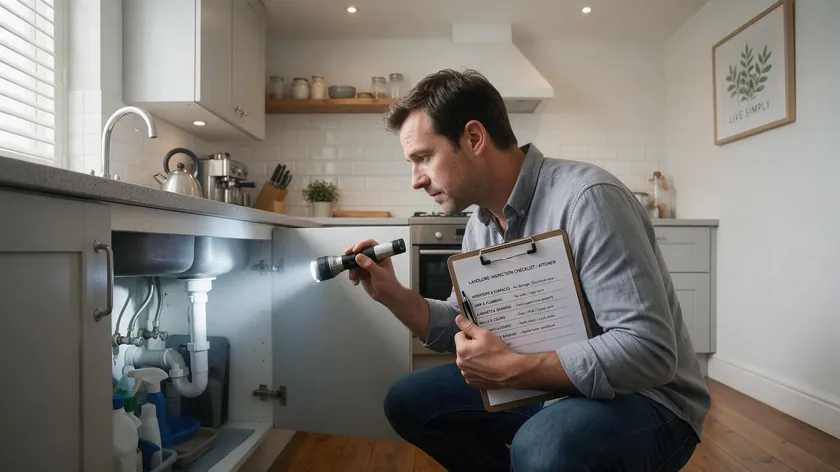
This section gives a structured, room-by-room property inspection checklist. Work through each area methodically to keep your records consistent. Overall cleanliness and condition should be assessed during inspections alongside specific maintenance issues.
Living rooms and bedrooms
Check walls, ceilings and flooring for damp, mould, cracks or trip hazards. Inspect windows and doors for smooth operation and intact locks – check window and door seals to reduce drafts.
Test radiators for leaks or cold spots. Note overall cleanliness and clutter levels, and check window frames for condensation damage or peeling paint.
Kitchen
Inspect worktops, units, sinks and taps for damage or leaks. Test landlord-supplied appliances – hob, oven, fridge-freezer, washing machine – for obvious faults.
Check the extractor hood or fan for operation and greasy filter build-up. Look for signs of poor hygiene that could attract pests, and inspect for leaks to prevent water damage under the sink.
Bathrooms and WCs
Look for leaks around toilets, basins, baths and showers. Check sealant and grout for mould or missing sections. Test extractor fans for operation and excessive noise. Confirm ventilation is adequate – openable windows where present, or a functioning mechanical vent.
Hallways, landings and stairs
Inspect handrails, bannisters, stair coverings and lighting for safety risks. Ensure routes are free of stored items that block escape. Confirm that fire doors, if fitted, close properly and have not been wedged open.
Note any issues as either “wear and tear” or “damage/negligence” to support fair decisions later – this distinction is covered in detail below.
Plumbing, Heating, Hot Water and Ventilation
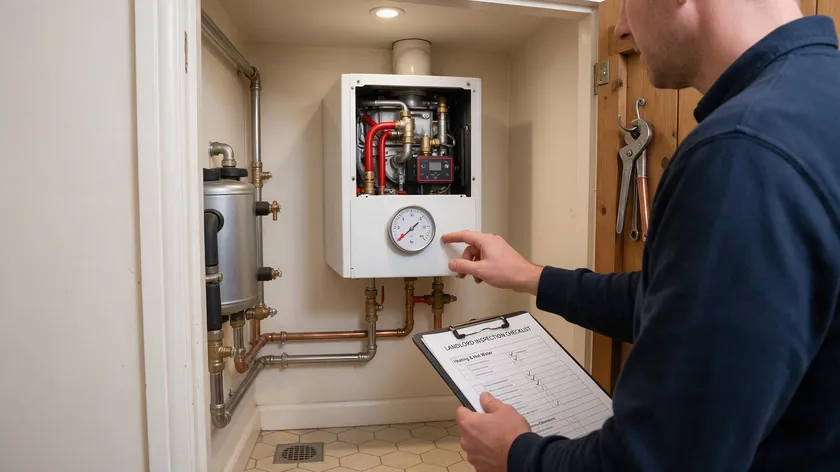
Heating, hot water and plumbing issues are among the most common tenant complaints and should have their own section in any inspection checklist. Small leaks left untreated can cause significant structural damage and costly repairs.
Plumbing
Check under and around sinks, baths and toilets for drips, staining or soft flooring. Look for ceiling patches below bathrooms or tanks. Test drainage speed – slow drainage might hint at blocked pipes. Inspect for leaks to prevent water damage throughout the property.
Heating and hot water
Turn the boiler on and run hot water taps for at least 30 seconds. Check that radiators heat evenly and that the water pressure gauge on combi systems sits within the manufacturer’s normal range. Inspect air filters to boost efficiency where accessible. Note whether the property remains at a comfortable temperature.
Ventilation
Confirm kitchen and bathroom extractor fans work and pull air – hold a tissue to the vent to test suction. Check that trickle vents on windows are open. Explain to tenants that poor ventilation after showers or cooking contributes to condensation and mould.
Note any tenant-reported problems – for example, “hot water intermittent in mornings” or “heating not reaching set temperature” – as action points even if they do not appear during the brief visit. Refer promptly to a Gas Safe engineer or qualified plumber where necessary.
Landlords in rental properties must have gas appliances checked annually by a registered engineer, and statutory checks include verifying gas safety records annually.
Electrics, Appliances and Carbon Monoxide Risk
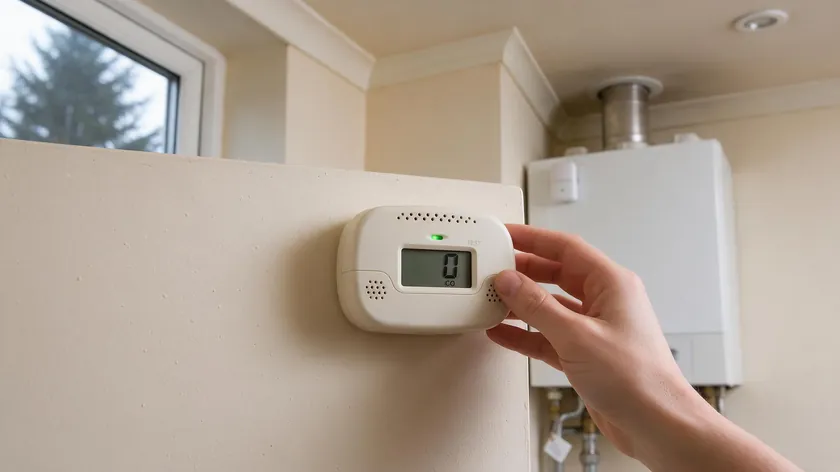
While full electrical and gas tests are done by professionals, landlords should still carry out basic visual and functional checks at each landlord inspection. An Electrical Installation Condition Report is required every five years, and landlords must provide a Gas Safety Certificate annually.
Electrics
Check sockets, switches and visible cabling for cracks, scorching, loose faceplates or DIY additions. Ensure no trailing extension blocks create trip or fire hazards. Record anything that looks abnormal.
Portable appliances
Visually inspect landlord-owned items – kettles, toasters, lamps, microwaves – for damaged flexes or casings. PAT testing is good practice where appliances are supplied, though not always legally required for landlords.
Carbon monoxide risk
Check the condition and flue areas of gas boilers and fires visually. Look for obvious signs of sooting, scorching or poor ventilation. Confirm carbon monoxide alarms are installed near each fuel-burning appliance as required. Carbon monoxide detectors should be tested for functionality at every visit.
Any worrying signs – burning smells, frequent tripped breakers, or tenant reports of headaches near gas appliances – should trigger an urgent professional inspection and be recorded clearly in the inspection report.
Keep a dedicated property compliance file for documentation, and file all safety certificates and inspection notes together for easy access.
Damp, Condensation, Mould and General Condition
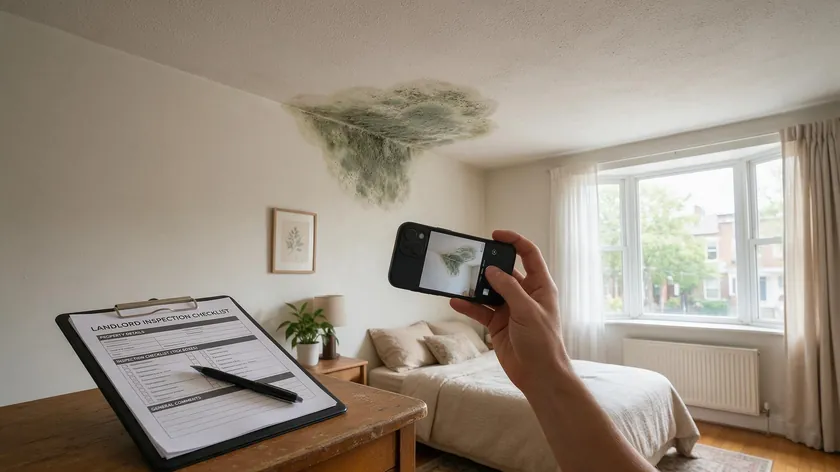
Spotting early signs of damp and mould is a central reason to carry out periodic inspections, given the health risks and the potential for structural damage. Inspections can prevent costly repairs by identifying issues early, and regular inspections enhance tenant satisfaction and safety.
Checking common problem spots
Check common problem spots: external-facing corners, around windows, behind wardrobes, around chimney breasts, and near previously reported leaks or gutter issues.
Condensation versus penetrating damp
Distinguish between condensation-related mould – often patchy and in colder corners – and penetrating damp linked to leaks, gutters or external defects. Both must be taken seriously.
Documenting mould with photos
Document the extent of any mould with dated photos, noting size and location. Record any clear tenant lifestyle factors like drying clothes on radiators without ventilation, but keep the tone non-accusatory.
Arranging follow-up repairs
Arrange appropriate follow-up: improving ventilation, fixing external faults, redecorating with mould-resistant paint. Record all actions to show you responded reasonably.
Untreated damp and mould can lead to enforcement action by the local council, so delays are risky. If left untreated, even minor mould can develop into a serious hazard with real health risks.
Garden Maintenance, Exterior and Outside Space
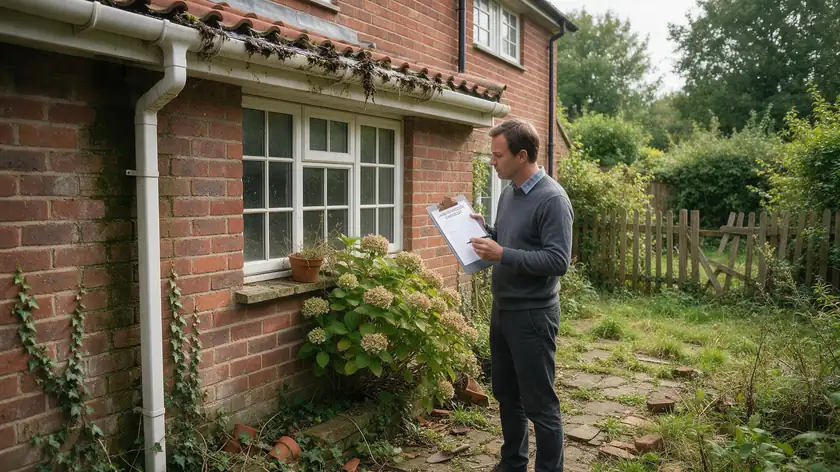
External inspections and garden maintenance belong on every landlord inspection checklist – both for safety (trips, loose tiles, blocked gutters) and kerb appeal. Perform seasonal checks on the property exterior, paying extra attention after winter storms and heavy rain.
Checking roofs, gutters and paths
Check roofs from ground level, gutters and downpipes for obvious blockages or overflows, and external walls for cracking. Inspect paths or steps for uneven surfaces that could cause falls.
Boundaries, sheds and bin storage
Look at boundary fences, gates and sheds, plus bin storage areas, for damage, rubbish build-up or signs of vermin. Confirm the outside space is being used as intended in the tenancy agreement.
Assessing garden upkeep
Assess whether lawns are mowed, hedges trimmed and borders reasonably tidy where the tenant is responsible. Record any overgrowth or garden misuse – such as scrap storage – with photos.
Shared and communal areas
For shared or communal areas – stairwells, car parks, shared gardens – landlords or freeholders often retain responsibility for safety standards here.
Exterior jobs like repairing loose slabs or clearing gutters should be prioritised because they often worsen quickly and can cause water ingress if ignored.
Wear and Tear vs Damage, and How to Record Issues
Inspections are not about finding excuses to charge tenants. They are about distinguishing fair wear and tear from misuse or neglect. Document property conditions to avoid disputes with tenants, and keep your records factual and balanced.
Wear and tear versus damage examples
Wear and tear examples: light scuffs on painted walls, slight carpet flattening on main walkways, faded curtains, and minor marks around light switches. Damage examples: burn marks, broken doors, smashed tiles, holes in walls from unauthorised fixtures, and excessive wear beyond what normal use would cause.
Using consistent condition grading
Use the same condition grading at each visit – for example, “good / fair / poor” – so changes are easy to track over time. Photographs taken during inspections can document property conditions and required repairs. Use photos and videos to supplement your inspection checklist.
Keeping detailed notes and photos
Keep detailed notes with dates, room names and photos. Record the date and location of any property issues. Cross-refer to earlier inspections so you can see whether an issue is new or ongoing. Documenting property condition helps avoid disputes over damages.
Deposit deductions happen at check-out
Formal decisions about deposit deductions happen at the end of the tenancy and are supported by the formal inventory and check-out process carried out separately.
Fair, evidence-based assessments are more likely to be accepted by tenants and deposit adjudication schemes. Consistency in your records is your strongest protection against potential disputes.
Example Property Inspection Checklist Table
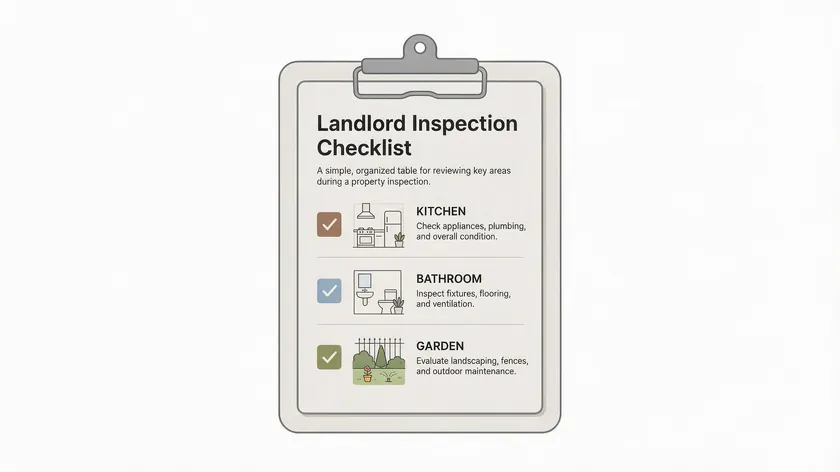
The table below is a sample layout you can adapt for your own rental property. It is not exhaustive – tailor it to each property’s features, age and risk areas.
| Area / Item | What to check | Condition | Action needed |
|---|---|---|---|
| Smoke alarms | Test button on every floor; check battery/expiry. | Good / Fair / Poor | |
| Carbon monoxide alarms | Test button near fuel-burning appliances | Good / Fair / Poor | |
| Boiler and hot water | Run taps, check the pressure gauge, listen for unusual noise | Good / Fair / Poor | |
| Kitchen sink and plumbing | Leaks under the sink, tap flow, drainage speed | Good / Fair / Poor | |
| Bathroom extractor fans | Operation, noise level, airflow (tissue test) | Good / Fair / Poor | |
| Windows and locks | Smooth operation, intact seals, secure locks | Good / Fair / Poor | |
| Damp and mould in bedrooms | External corners, behind furniture, window reveals | Good / Fair / Poor | |
| Hallway and escape routes | Clear of obstructions, fire doors closing, lighting | Good / Fair / Poor | |
| Electrics – visible check | Sockets, switches, no trailing leads or scorch marks | Good / Fair / Poor | |
| Garden maintenance | Lawns, hedges, paths, fences, bin storage | Good / Fair / Poor | |
| Exterior paths and steps | Uneven surfaces, loose slabs, trip hazards | Good / Fair / Poor | |
| Front door and locks | Secure, smooth operation, no damage | Good / Fair / Poor |
Print or save this table digitally and fill it in during each visit. Attach dated photos alongside each row where you note an issue, and compare results with the previous inspection to spot trends.
A structured format like this keeps inspections consistent across properties and provides a consistent record that supports legal compliance and helps avoid disputes.
Following Up After the Inspection
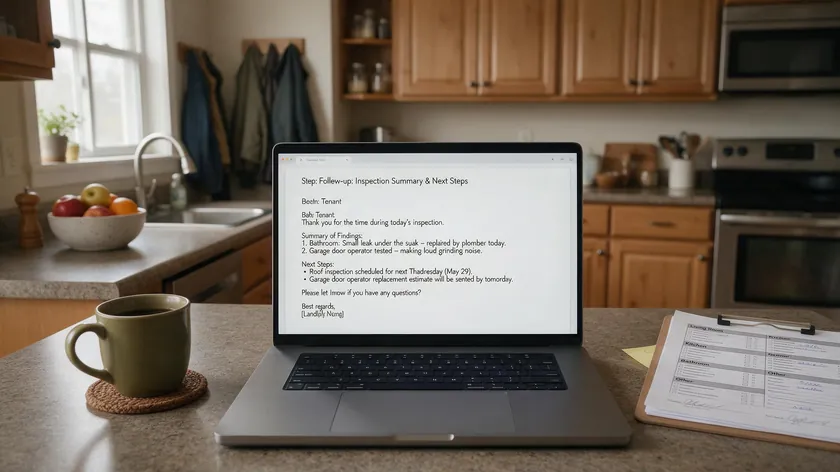
Inspections only add value if you act on what you find. A property inspection without follow-up is a missed opportunity – and potentially a liability.
Sending a written summary
Send the tenant a short written summary – email is fine – within 48 to 72 hours. Reference the date of the inspection, key findings, and which issues are landlord versus tenant responsibilities. This becomes your inspection report for that visit.
Prioritising repairs
Prioritise repairs: urgent safety items first – a non-working smoke alarm, suspected carbon monoxide risk, a major leak – then non-urgent remedial work such as worn sealant or sticking doors.
Diarising follow-up actions
Diarise follow-up: schedule contractors, set internal deadlines, and check at the next inspection that previous issues were resolved. Maintain maintenance records so nothing falls through the cracks.
Delegating to agents
Landlords with many properties can delegate this workflow to agents, but always review the reports yourself.
Clear follow-up shows professionalism and reassures tenants that inspections are for their benefit too. It builds a good relationship and encourages tenants to report concerns early – keeping the property clean, well maintained, and safe.
Key Takeaways
- Inspect every three to six months with proper written notice – at least 24 hours and at a reasonable time – and log every visit.
- Use a consistent landlord inspection checklist covering safety, condition and outside space so nothing is missed.
- Test smoke and carbon monoxide alarms, check hot water and heating, and confirm emergency exits are clear at every visit.
- Document findings with dated photos, condition grades and notes – and follow up promptly on repairs to stay compliant and avoid disputes.
- Check-in and check-out inventories, wider tenancy obligations, and agreement templates are covered in this guide’s related articles for landlords.
Adapt this checklist to your own properties and keep inspections professional, collaborative and focused on protecting both the asset and the tenant. A good inspection is a conversation, not a confrontation – and the paperwork you build today protects everyone tomorrow.
Pair this checklist with a solid tenancy agreement to keep your property management simple and compliant. Documentify’s tenancy agreement generator lets you create and customise your agreement in minutes – free to preview, with a small fee only when you download it.
FAQ
These questions cover common landlord queries about routine UK property inspections that were not fully addressed in the sections above.
How much notice must a landlord give for an inspection in the UK?
Most tenancy agreements and the Landlord and Tenant Act 1985 require at least 24 hours’ written notice and a reasonable time of day. Emergencies – such as a gas leak or burst pipe – are the only exception. In practice, giving a week’s notice is often better for maintaining a good relationship and ensuring the tenant is available.
Can a tenant legally refuse a landlord inspection?
Tenants can refuse access if the timing or notice is unreasonable, and forcing entry outside of a genuine emergency would breach their right to quiet enjoyment. However, persistent, unjustified refusal may breach the tenancy agreement. Document every attempt, offer alternative times, and seek legal advice before considering legal action through the courts.
How long should a mid-tenancy inspection take?
Expect around 20 to 40 minutes for a one-bedroom flat and up to an hour for a larger family house, depending on the property’s condition and the number of issues found. Do not rush safety checks – testing alarms, running taps and checking heating properly takes time and is worth every minute.
Do landlords have to be present, or can an agent carry out the inspection?
Landlords can authorise a letting agent or professional inspector to visit on their behalf. The tenant must be told in the notice who will attend. The person carrying out the inspection should act professionally, respect privacy, and provide the landlord with a written report afterwards.
Can a landlord take photos during an inspection?
Yes – taking photos of the property’s condition is common and sensible for documenting findings. Let the tenant know in advance that you plan to photograph key areas. Avoid capturing personal or sensitive items where possible, and store images securely in line with data protection principles.

