
A rental property inventory is a written record of the condition of the property and its contents at the start and end of a tenancy. It is the single most important document for protecting the tenant’s deposit and for shielding landlords from unfounded claims.
This guide covers what to include, how to carry out check-in and check-out inventories, who should prepare them, and how to tell fair wear and tear apart from actual damage.
Table of Contents
- What is a rental property inventory, and how does it protect you?
- What should a rental property inventory include?
- Step by step: how to complete a check-in inventory
- How to carry out a check-out inventory and compare reports
- Distinguishing fair wear and tear from tenant damage
- Who should prepare the inventory – the landlord, the letting agent or the inventory clerks?
- Costs, legal position and how inventories support deposit disputes
- Inventory versus mid-tenancy inspection: how they differ
- Room-by-room example checklist for a rental property inventory
- Practical tips to strengthen your inventory evidence
- Key Takeaways
- FAQ
What is a rental property inventory, and how does it protect you?
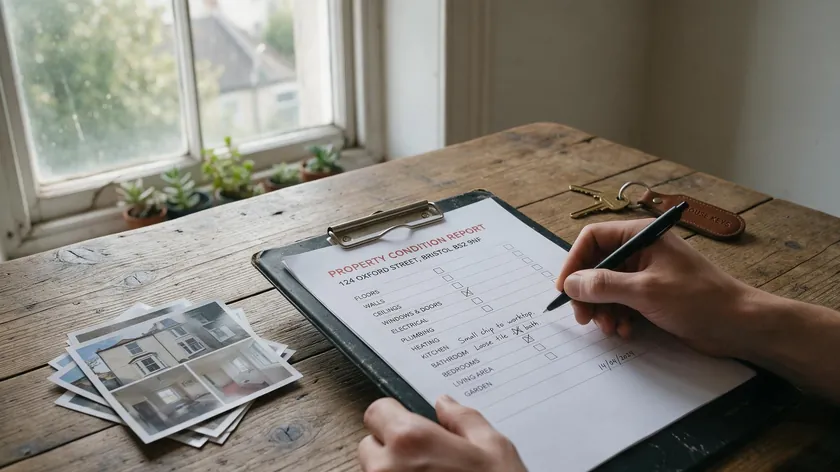
A property inventory details the condition of a property at a specific point in time – usually when the tenancy begins and when it ends. It is a structured, room-by-room written record supported by photographic evidence, capturing both the property’s contents and the state of every fixture, surface and fitting.
The inventory normally includes a schedule of condition for each room – lounge, kitchen, bedrooms, hallway – plus external areas such as the front path, rear garden and outbuildings. It sits alongside the tenancy agreement, which governs rent, repair obligations and deposit terms, while the inventory document provides the factual baseline for the property’s condition.
In England and Wales, any deposit taken for a residential tenancy must be placed in a government-approved deposit protection scheme such as TDS, mydeposits or DPS. When deposit disputes arise, these schemes rely on check-in and check-out inventory reports as their main evidence.
Creating a detailed property inventory protects landlords and tenants during deposit disputes by giving adjudicators a clear before-and-after comparison.
- The same inventory document can also support landlord insurance claims, demonstrating that damage was caused during a specific tenancy rather than pre-existing.
A rental property inventory records the condition at tenancy start, so without one, a landlord has no agreed baseline to prove that deterioration occurred during occupancy. Inventories help resolve disputes over deposit deductions by showing exactly what changed and when.
What should a rental property inventory include?
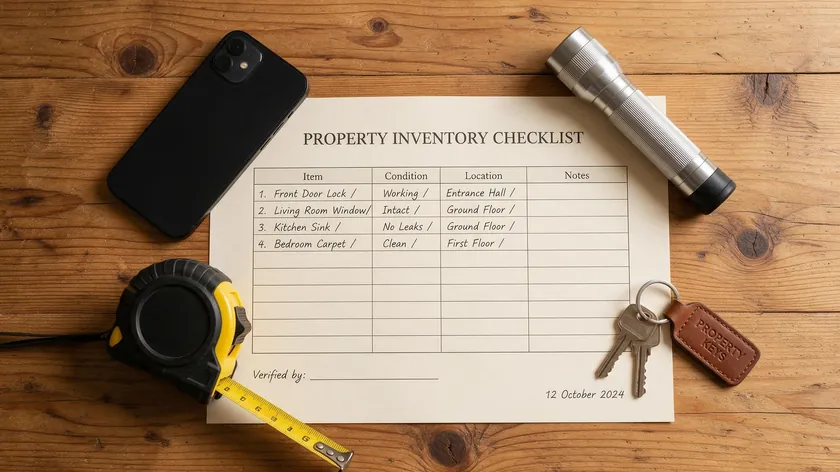
A modern rental property inventory is more than a simple list. It is a structured, room-by-room record tailored to the specific rented property. Include a clear, structured format for the inventory to track items efficiently and ensure nothing gets missed.
Core details and condition ratings
Start with the essential metadata: property address, date of the inventory, names of the landlord, tenant and any letting agent, and the tenancy start date. Then work through each room with a detailed description of décor, fixtures, fittings and contents. Rate each item’s condition using a consistent scale – for example, “as new / good / fair / poor”.
An inventory includes detailed descriptions of each room’s condition, covering walls, ceilings, floors, carpets, doors, windows, skirting boards, sockets, light fittings, carbon monoxide detectors, smoke alarms and any built-in storage. Document every item, fixture and surface, along with its condition, in the rental inventory.
Appliances and alarm tests
Record all electrical appliances supplied with the property – oven, hob, extractor fan, fridge freezer, washing machine, dishwasher, boiler and electric heaters. Note brand, model and any visible defects such as dents, scratches or discolouration.
The inventory must document the functionality of appliances and fixtures, so test each one where practical.
Alarm tests should also be documented. Record the location of each smoke and carbon monoxide detector, confirm whether it sounded correctly during the test, and note the date. Electrical fixtures – switches, sockets, light fittings – should be visually checked and their condition logged.
Meters, exterior and keys
Include utility meter readings and safety checks in the rental inventory. Meter readings for gas and electricity should be recorded, along with electricity meter readings, water meter readings, meter serial numbers and clear photos of each display. Take these on the same day as the inventory.
Exterior features matter too. Fences, gates, sheds, driveways, patios and garden furniture should all be listed with condition notes and photos. Even boundary walls and bins deserve a mention.
The inventory should include a list of all keys provided to the tenant. Be specific – for example, “2 x front door keys, 1 x rear door key, 1 x window lock key, 1 x meter cupboard key” – and ideally photograph the keys on a labelled keyring.
Photo and video evidence
Photographic evidence is crucial for check-in and check-out reports. Use high-resolution photographs for documenting pre-existing damage in rental properties, and ensure photographs in inventories are time-stamped for accuracy. Photographic evidence should be time-stamped and embedded in the report.
A comprehensive inventory includes detailed descriptions and photographs. Cross-reference images to the written text – for example, “see Photo 12 – scratch on living room laminate by patio door”. A date and time stamp on every image prevents challenges to authenticity later. Short video walk-throughs can supplement still photos but should not replace the written inventory report.
Step by step: how to complete a check-in inventory
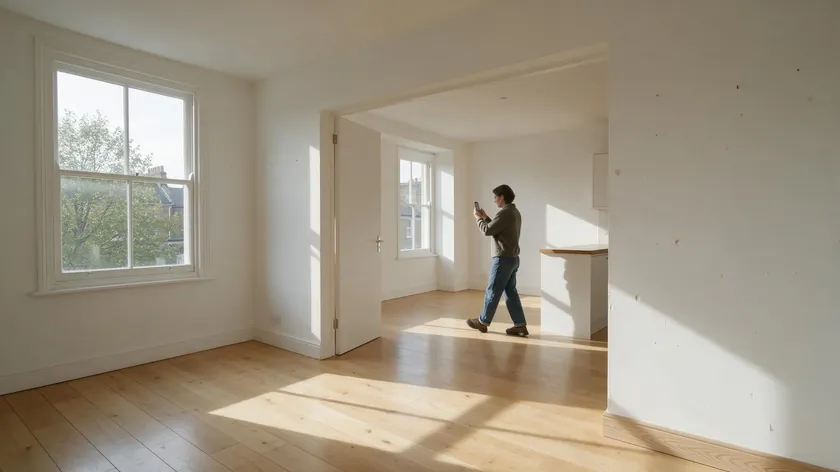
The check-in inventory is normally completed between professional cleaning and the tenant moving in – typically 24–72 hours before the tenancy start date. Landlords should conduct inventories before tenant check-in to capture the property in its cleanest, most accurate state. A check-in report documents the property’s condition at move-in.
Before the visit and the walkthrough sequence
Bring a printed or digital checklist, a smartphone or camera, a torch, spare batteries and a tape measure for providing scale in photos of damage. Having inventory templates ready – whether digital or paper – keeps the process consistent.
Start outside: front elevation, paths, garden and bins. Then move systematically room by room from the entrance level upwards. Following the same walkthrough sequence each time makes comparing the check-out inventory straightforward.
Recording meters and existing wear
Record meter readings on the same day as the check-in inventory and photograph the meters with the readings clearly visible. Any pre-existing issues – scuffed skirting in the hall, light fraying on the stair carpet, small chips to a worktop – must be described and photographed. Document the condition of each item objectively to avoid vague descriptions like “carpet – OK”.
A joint walkthrough with the tenant helps confirm the property’s baseline condition. Tenants have the right to be present during inventory checks, and involving them at this stage reduces the risk of disputes later.
Sharing the report and signing off
Once the landlord or inventory clerk has drafted the check-in report, share a copy with the tenant on or just before move-in day. Invite them to add comments or supply their own photos. Handle tenant acknowledgement of the inventory to create a shared record of condition.
Give tenants a fixed timeframe – usually 5–7 calendar days – to report discrepancies before you and the tenant both sign off the final version. A signed inventory is crucial for deposit dispute resolution.
Store the signed check-in inventory safely with the tenancy paperwork and deposit protection certificate, as it will be the reference point for the check-out inventory.
How to carry out a check-out inventory and compare reports
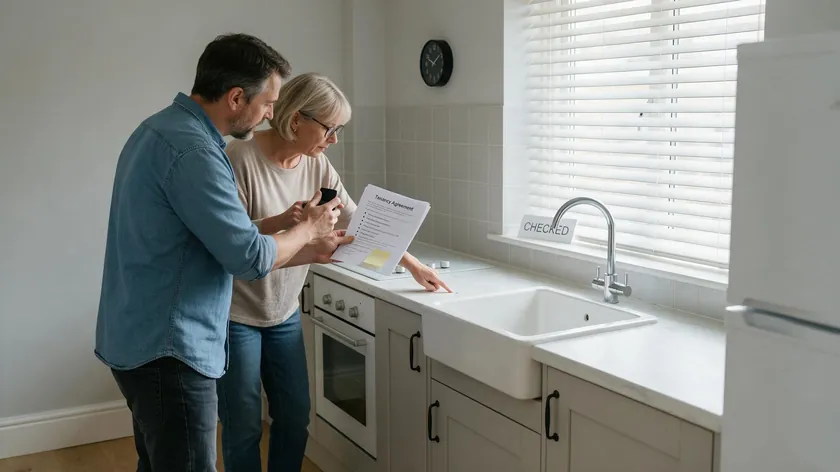
The check-out inventory is completed after the tenant has removed all their belongings, usually on the final day of the tenancy once keys are returned. For a detailed overview of end-of-tenancy processes, including deposit return, see the separate “Surrender of tenancy” resource.
Matching the check-in structure
The check-out inventory mirrors the original check-in inventory: same rooms, same order, same level of detail. This makes it simple to compare the property’s condition before and after the tenancy. Ideally, use the same person – whether a landlord, letting agent or professionally trained inventory clerk – for both the check-in and check-out to maintain consistency.
Conduct a check-out assessment comparing the property against the initial inventory report. A check-out report compares the property’s condition at move-out, documenting every change since the tenancy began.
Recording and flagging changes
The check-out report should record updated meter readings, note cleanliness in each area, document any new damage or missing items, and include fresh, dated photographs. Mark changes explicitly – for example, “New damage since check-in – deep scratch to worktop by hob (see Photo 36)” or “Carpet wear consistent with 3-year tenancy and 2 occupants – fair wear and tear.”
The check-out inventory will be the central document used to agree deposit returns. Share a copy of the check-out report and any proposed deposit deductions with the tenant as soon as possible after the tenancy end date. This keeps the check-out process transparent and reduces the chance of disputes escalating.
Distinguishing fair wear and tear from tenant damage
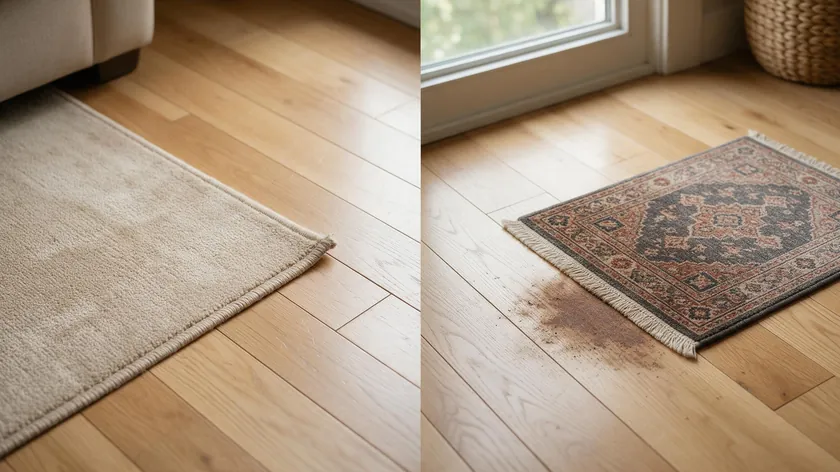
Fair wear and tear is the inevitable ageing and deterioration from normal, reasonable use. Damage is avoidable harm caused by a specific act or neglect. Inventories help distinguish between wear and tear and damage by providing the evidence deterioration was not present at the start.
Adjudicators consider several factors: the length of the tenancy, the number and type of occupants, the original quality of items, and whether items were new or already worn at check-in. A thorough inventory with clear evidence from both check-in and check-out makes this assessment far easier.
Concrete examples help clarify the distinction. Traffic marks on a hall carpet after a 3-year tenancy are fair wear – a large iron burn or red wine stain is damage. Slight fading to curtains is expected over several years – a torn curtain lining is damage.
- Landlords cannot use deposit money to obtain “new for old” replacements. Deductions should reflect the item’s age and remaining useful life. The TDS Guide to Product Lifespans provides typical ranges – for example, medium-quality carpets are expected to last 5–8 years, interior paint 3–5 years.
Detailed, dated check-in and check-out inventories – with clear photographs – make it far easier for a deposit protection scheme or adjudication provider to accept that something is damaged rather than natural wear. Adopt a consistent, documented approach across properties and tenancies to reduce accusations of unfairness.
Who should prepare the inventory – the landlord, the letting agent or the inventory clerks?

Anyone can technically prepare an inventory check, but the quality and independence of the report affect how much weight it carries in deposit disputes. Since 2007, inventory quality has significantly improved thanks to dedicated software, digital photography and growing awareness of deposit scheme requirements.
DIY landlord inventories
A DIY landlord inventory is cost-effective for small portfolios. However, it demands time, attention to detail and a methodical approach to inspecting and photographing every corner of the rental property. DIY reports can be challenged as biased if they lack sufficient detail or photographic backup.
Letting agent inventories
A letting agent may include inventory services in their management package or arrange them at an additional cost. The advantage is convenience – the agent handles scheduling, access and storage of inspection reports on the landlord’s behalf.
However, agent-prepared reports may still be questioned for impartiality by the resolution department of a deposit scheme.
Independent inventory clerks
An independent inventory clerk is a specialist who prepares detailed, unbiased check-in and check-out reports. Many are members of professional bodies such as the AIIC and use dedicated inventory management software with embedded photos and digital signatures. Using an independent clerk improves inventory accuracy and detail.
Professional inventory clerks are particularly useful for higher-value properties, HMOs or furnished lets with many items to log. They act as an independent third party, which carries significant weight if a dispute reaches the resolution department lead of an adjudication provider.
- In England, Scotland and Wales, either the landlord or their agent must pay for inventory services under the Tenant Fees Act 2019 and equivalent rules – charging tenants certain fees for inventory work is prohibited. In Northern Ireland, landlords can charge tenants directly for inventory costs, though agents cannot charge tenants on the landlord’s behalf.
Weigh up cost, time saved and evidential strength when choosing. For a quality inventory on a higher-value or furnished let, the additional cost of a professional inventory clerk often pays for itself in dispute point prevention alone.
Costs, legal position and how inventories support deposit disputes
There is no legal requirement in England forcing landlords to create a rental property inventory. Landlords are not legally required to prepare an inventory in England. However, without one, it is very difficult to justify deposit deductions, and landlords must prove property condition without an inventory – a challenge that remains legal but rarely succeeds in practice.
Deposit adjudicators start from the assumption that the tenant’s deposit belongs to the tenant. Both the landlord and their agent must present clear evidence – typically check-in and check-out inventory reports plus invoices and photos – to prove any entitlement to deductions.
The Tenant Fees Act (2019) prohibits charging tenants for inventory costs in England. Similar bans apply in Scotland and Wales, but in Northern Ireland landlords may still pass some costs to tenants subject to local rules.
Typical pricing from independent clerks varies by property size and furnishing level. A 1-bed flat might cost £90–£130 for a full inventory, a 2-bed flat £130–£200, and a 4-bed house £250–£400 or more.
Many disputes over cleaning, missing items and damage fail because landlords have no inventory or one that is too vague. Saying “carpet – OK” is far less convincing to an adjudicator than saying “beige wool carpet, professionally cleaned, no visible stains”.
Research from the Tenancy Deposit Scheme shows cleaning is now the most commonly cited issue in deposit disputes, appearing in over half of contested claims – good quality inventories with cleaning conditions noted at check-in directly address this dispute point.
Investing in one detailed rental property inventory per tenancy is usually cheaper than losing a large proportion of a deposit in an avoidable dispute.
Inventory versus mid-tenancy inspection: how they differ

An inventory check is a fixed, evidential snapshot at a point in time – normally check-in and check-out. A mid-tenancy inspection, by contrast, is a periodic visit during the tenancy to monitor the property’s general condition, safety and maintenance needs. Regular mid-tenancy inspections help identify maintenance issues early, but they serve a different purpose from the inventory.
| Inventory (check-in / check-out) | Mid-tenancy inspection | |
|---|---|---|
| Timing | Start and end of tenancy | Periodically, e.g., every 3–6 months |
| Purpose | Evidence for deposit protection and disputes | Health, safety, repairs and tenant compliance |
| Level of detail | Comprehensive – every room, item, and meter reading | Focused – problem areas, necessary repairs, safety checks |
| Who attends | Landlord, tenant and/or inventory clerk | Landlord or agent, usually with tenant present |
| Result | Signed inventory report stored with deposit paperwork | Inspection reports and maintenance actions |
A separate “Landlord inspection checklist” article will cover mid-tenancy inspections in more depth. Landlords can use the original check-in inventory as a reference point during inspections to see how quickly high-wear areas such as hallways, kitchens and bathrooms are deteriorating.
Inventories do not replace regular inspections, and inspections do not replace having a signed, well-prepared inventory for rental property at the start and end of the tenancy.
Room-by-room example checklist for a rental property inventory
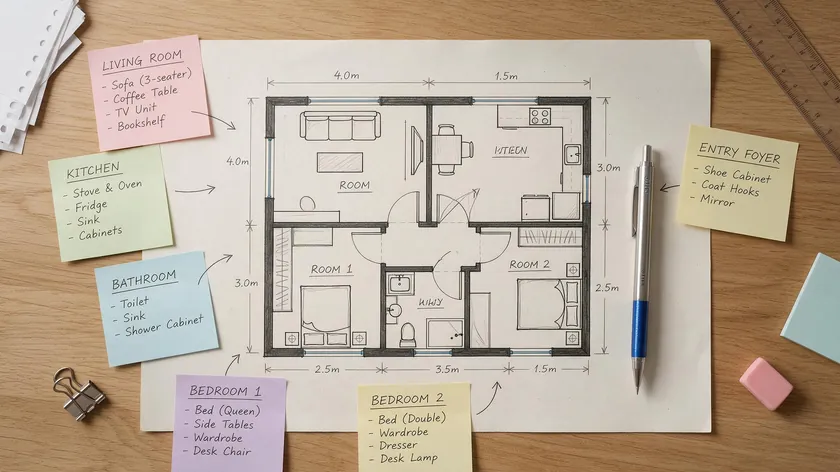
Below is a concise example showing how a room-by-room inventory could be structured for a typical 2-bedroom UK rental flat – built circa 2005, with gas central heating and double glazing. This is not a standard template but gives a clear structure you can adapt.
| Area | Fixtures and contents to record | Example condition notes |
|---|---|---|
| Entrance hall | Flooring, walls, ceiling, skirting, door, light fitting, smoke alarm, any mat or furniture | Laminate – good; light scuff to skirting near door |
| Living room | Walls, ceiling, carpet, windows, blinds/curtains, radiator, sockets, supplied sofa and table | Carpet – fair (light traffic marks); blinds – good |
| Kitchen | Units, worktops, sink, taps, tiling, floor, oven, hob, extractor, fridge freezer, washing machine | Worktop – small chip near hob; grouting – fair |
| Bedroom 1 | Flooring, walls, windows, curtains, wardrobe, bed frame, mattress, light fittings | Mattress – good, no stains; carpet – as new |
| Bedroom 2 | As bedroom 1 | Wardrobe door – slight misalignment |
| Bathroom | Toilet, sink, bath/shower, taps, sealant, grout, mirror, extractor, flooring | Sealant around bath – fair; no mould visible |
| External areas | Fences, gates, patio, lawn, shed, rotary dryer, garden furniture, outdoor lighting | Fence panel 3 – fair, weathered; patio – good |
For each area, take both wide-angle and close-up photos. Adapt the checklist depending on property age, size, level of furnishing and whether the property is a house, flat or HMO.
Practical tips to strengthen your inventory evidence
Small process improvements significantly increase the usefulness of an inventory report in any future dispute. Photographic evidence in inventories is recommended for clarity at every stage.
- Use consistent condition ratings – for example, a 1–5 scale or traffic-light system – across all tenancies so that “good” or “fair” carries the same meaning each time.
- Take photos in good daylight, using both wide shots and close-ups, and ensure each image links back to a specific room and item in the written record.
- Maintain a digital copy of the inventory in secure cloud storage for backup. Use clear file names showing the property address and dates for record-keeping purposes.
- Include copies of key safety certificates with the inventory pack – gas safety records, EICR reports, EPCs and recent alarm tests – even though these are separate legal requirements.
- Have both you and the tenant sign (physically or electronically) and date the inventory and any later amendments, including when tenants email comments in the first week.
Treat the inventory for rental property as a professional document. Use neutral, factual language throughout – describe what you see (“small chip to worktop edge”) rather than making accusations. This approach strengthens the report if it ever reaches an adjudicator.
Key Takeaways
- A rental property inventory is a detailed record of contents and condition at check-in and check-out – not legally mandatory, but treated by deposit schemes and courts as the primary evidence in disputes.
- A strong inventory covers every room and outdoor area, appliances, alarm tests, meter readings and keys, all backed by dated photos or video, and should be signed by both parties within 7 days of moving in.
- Record wear and tear separately from clear damage – deductions must be reasonable and reflect the item’s age and condition, never a “new for old” replacement.
- Decide whether to prepare inventories yourself, through your letting agent, or with independent inventory clerks – in Great Britain landlords cover these costs under current fee bans, while Northern Ireland rules differ.
- Use the inventory alongside, not instead of, regular mid-tenancy inspections, and store all reports and images securely for at least six years in case of later disputes or insurance claims.
Once the inventory is signed and stored, don’t leave the tenancy agreement as an afterthought. Create yours now with Documentify’s tenancy agreement tool – free to create and preview, with a small fee only when you download the final copy.
FAQ
Is a rental property inventory legally required in the UK?
There is no specific law forcing landlords to provide a rental property inventory. However, deposit protection rules effectively make it essential by placing the burden of proof on the landlord for any deductions. Courts and deposit adjudicators expect to see a signed, dated check-in and check-out inventory with photos when deciding whether deductions for cleaning or damage are fair.
In Scotland, the model tenancy agreement includes an inventory and record of condition, and tenants have 7 days to review it. While optional in theory across the UK, in practice most professional landlords and letting agents treat their own inventory as standard.
How detailed should photos and videos in an inventory be?
Wide-angle shots of every room show overall condition, while close-ups are needed for specific marks, stains or damage. Include at least one clear photo of each wall, floor area, key fixture and any existing defect, plus separate images of meter readings and alarm tests.
Short video walk-throughs can supplement still photos but should not replace a properly written inventory report. Always use high-resolution images with a visible date and time stamp.
What happens if a tenant refuses to sign the inventory?
The inventory remains legal evidence even if a tenant does not sign, provided it was shared with them and you can show they had a fair chance to comment. Keep proof of service – an email with a read receipt or a covering letter – and note on the document that the tenant declined or failed to sign by a particular date.
If the tenant later raises a dispute, adjudicators will consider whether they raised concerns about the inventory when the tenancy began.
Can I update the inventory during the tenancy?
The original check-in inventory should not be rewritten, but landlords can add dated addendums to record agreed changes – such as new furniture provided mid-tenancy or repairs that permanently alter an item’s condition. Update the inventory record after each significant change in the property items.
For routine mid-tenancy inspections, keep separate inspection notes while cross-referring to the original inventory. Any significant mid-term changes should be confirmed in writing with the tenant and supported by fresh photos.
How long should I keep inventory records after a tenancy ends?
Keep inventories, photos, emails and deposit correspondence for at least six years from the tenancy end date, in line with general limitation periods for contractual claims. This helps if a late dispute arises or if HMRC, insurers or a court ask for evidence relating to the property’s condition and costs. Store digital copies securely with clear file names showing the property address and relevant dates.

